With over 2.2 billion people scanning QR codes globally and 99.5 million active monthly scanners in the United States alone, the physical presentation of a QR code has never carried more commercial weight. Yet despite the technology's resilience, industry data consistently shows that up to 15% of QR code campaigns underperform due entirely to printing-related issues — blurry resolution, poor contrast, insufficient size, or the wrong material choice. That is a significant and entirely avoidable problem.
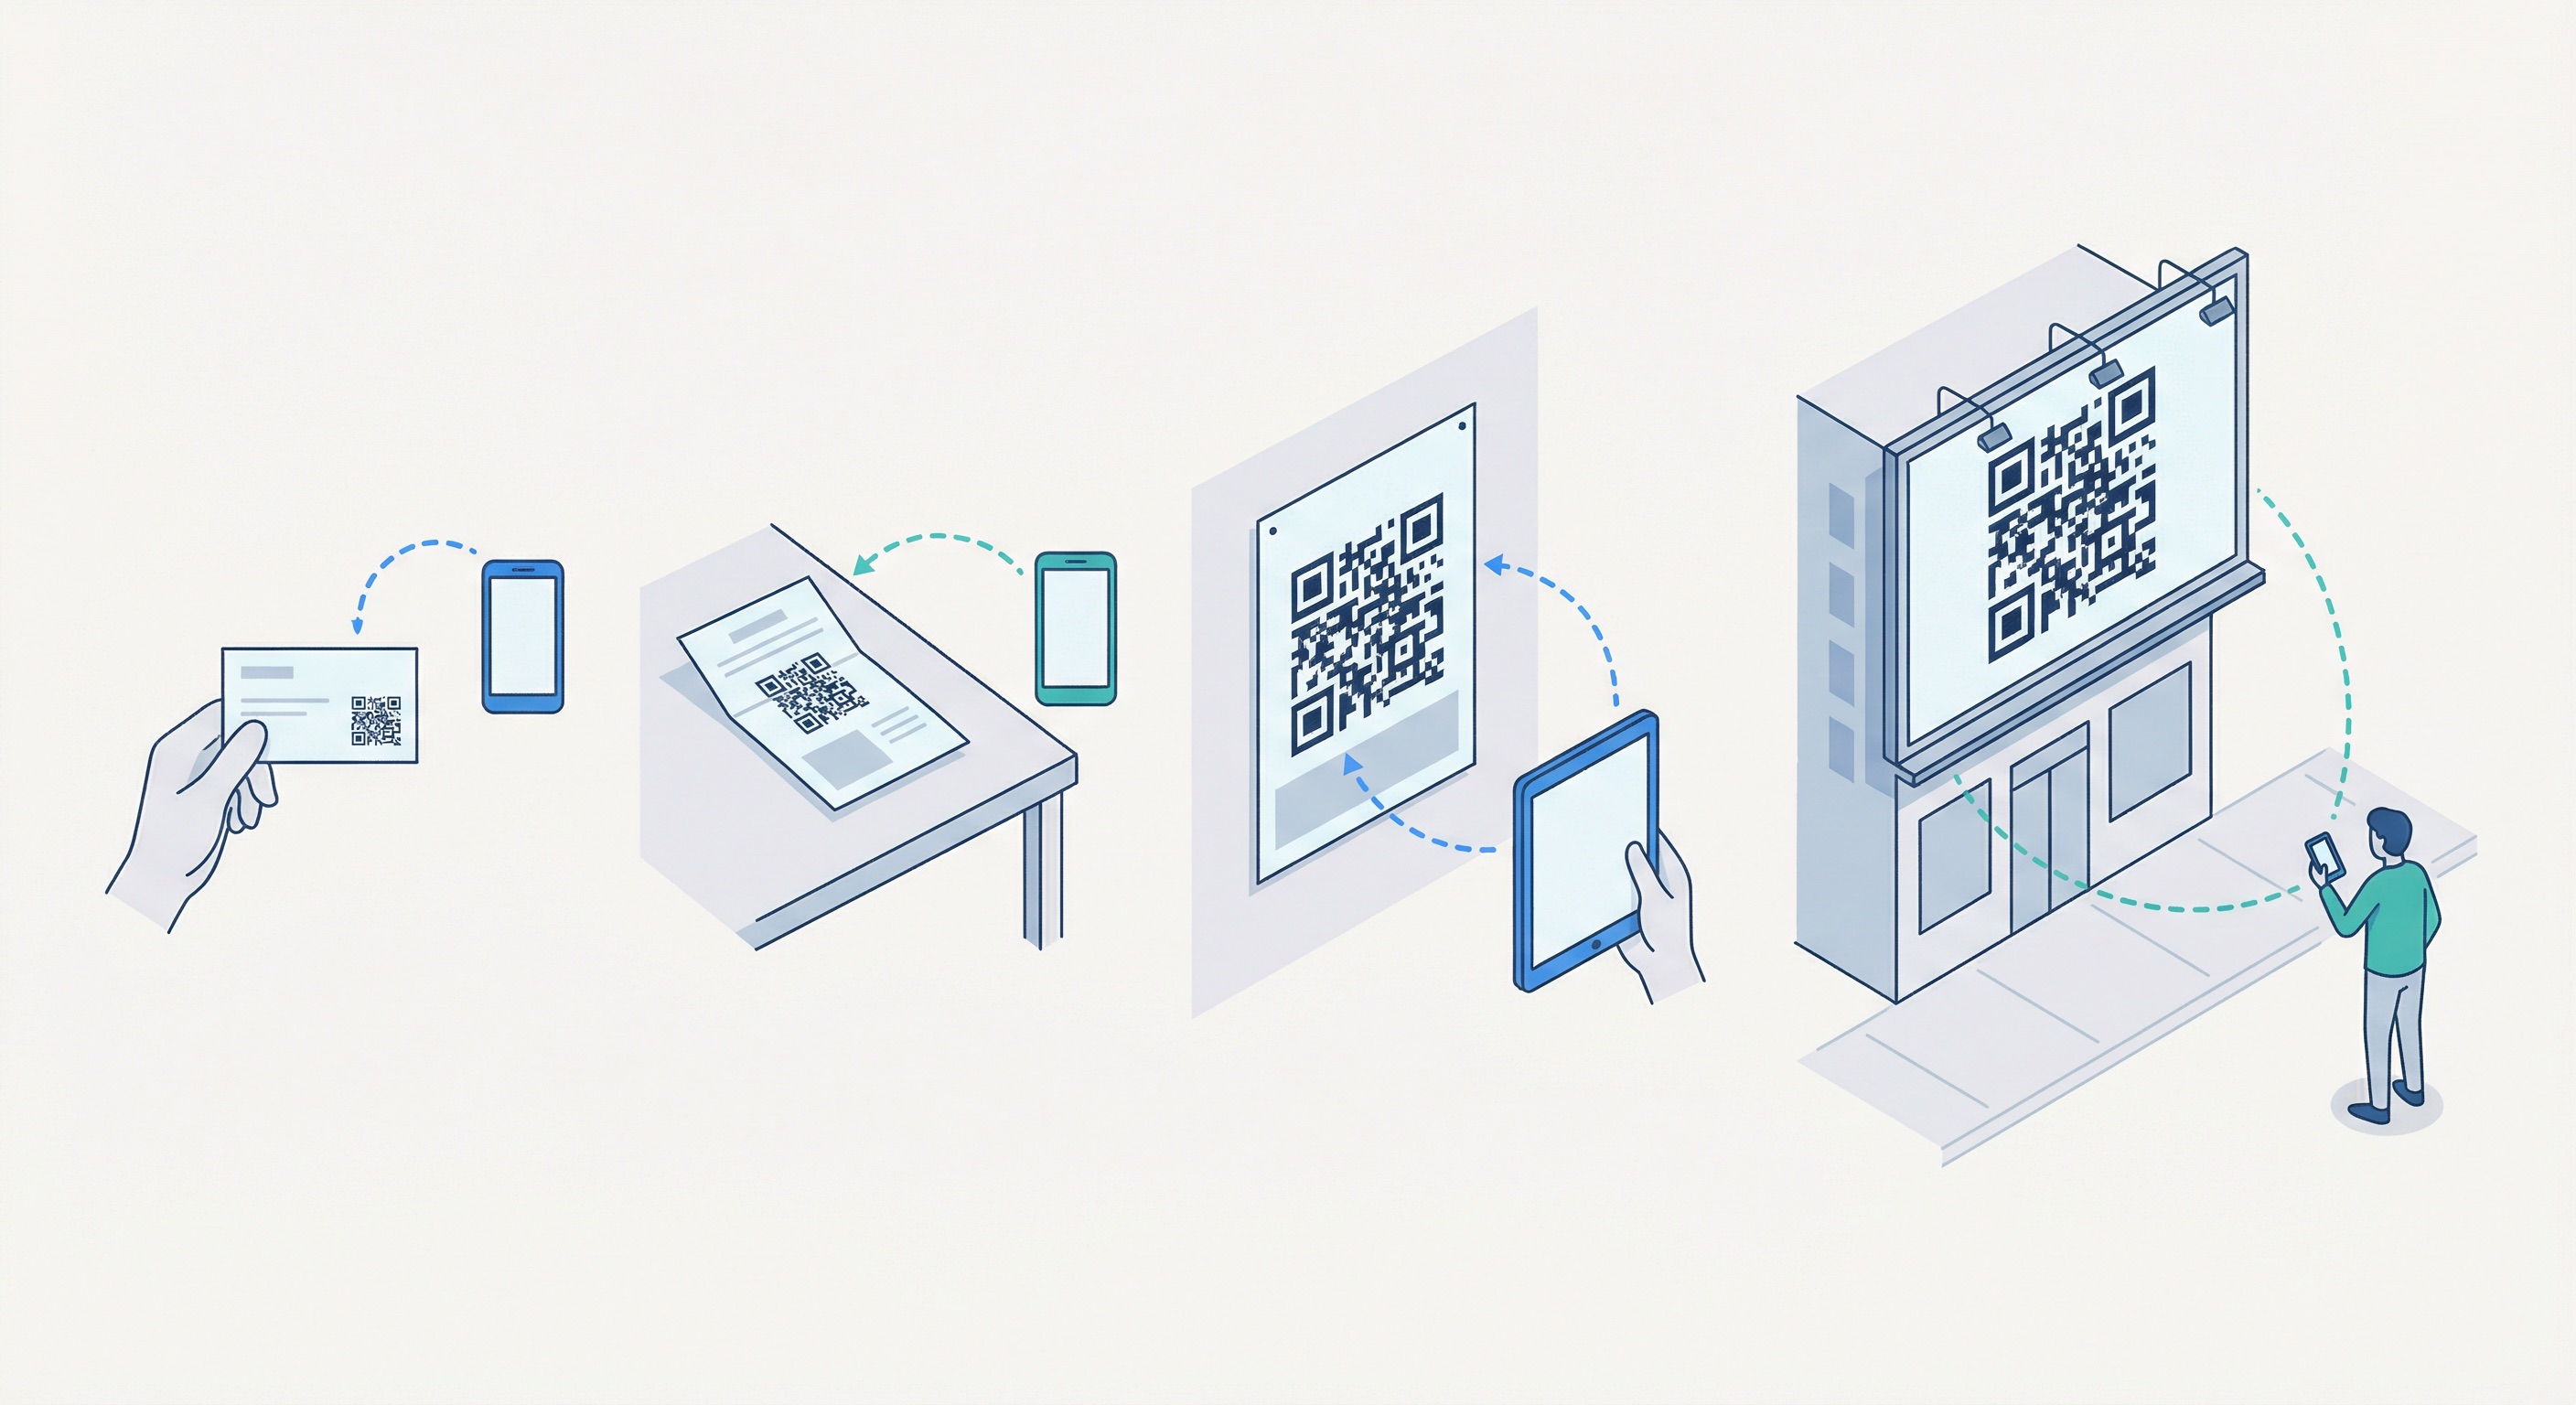
This guide gives you everything you need to eliminate printing failures. Whether you are placing a QR code on a business card, a retail shelf, a packaging box, or a 10-metre billboard, the principles in this article will ensure your codes scan reliably every time — and deliver the analytics and engagement data your campaign depends on.
A QR code is only as valuable as its scannability. According to QR Insights, 37% of QR-initiated customer journeys achieve a click-through rate that outperforms most digital ad formats — but only when the code is printed correctly. A blurry, undersized, or low-contrast code does not just fail to scan; it actively damages brand perception. In a consumer environment where 88% of people report a positive sentiment toward QR codes, a dead or unscannable code is a trust-breaking moment.
The stakes are even higher for businesses running large print runs. Reprinting a batch of 10,000 packaging labels or a full set of event signage because of a preventable printing error is a costly lesson. Linkscan data shows that scanning failures at the point of physical interaction are among the top reasons QR-driven campaigns miss their targets. The good news: every one of these failure modes is preventable with the right technical groundwork.
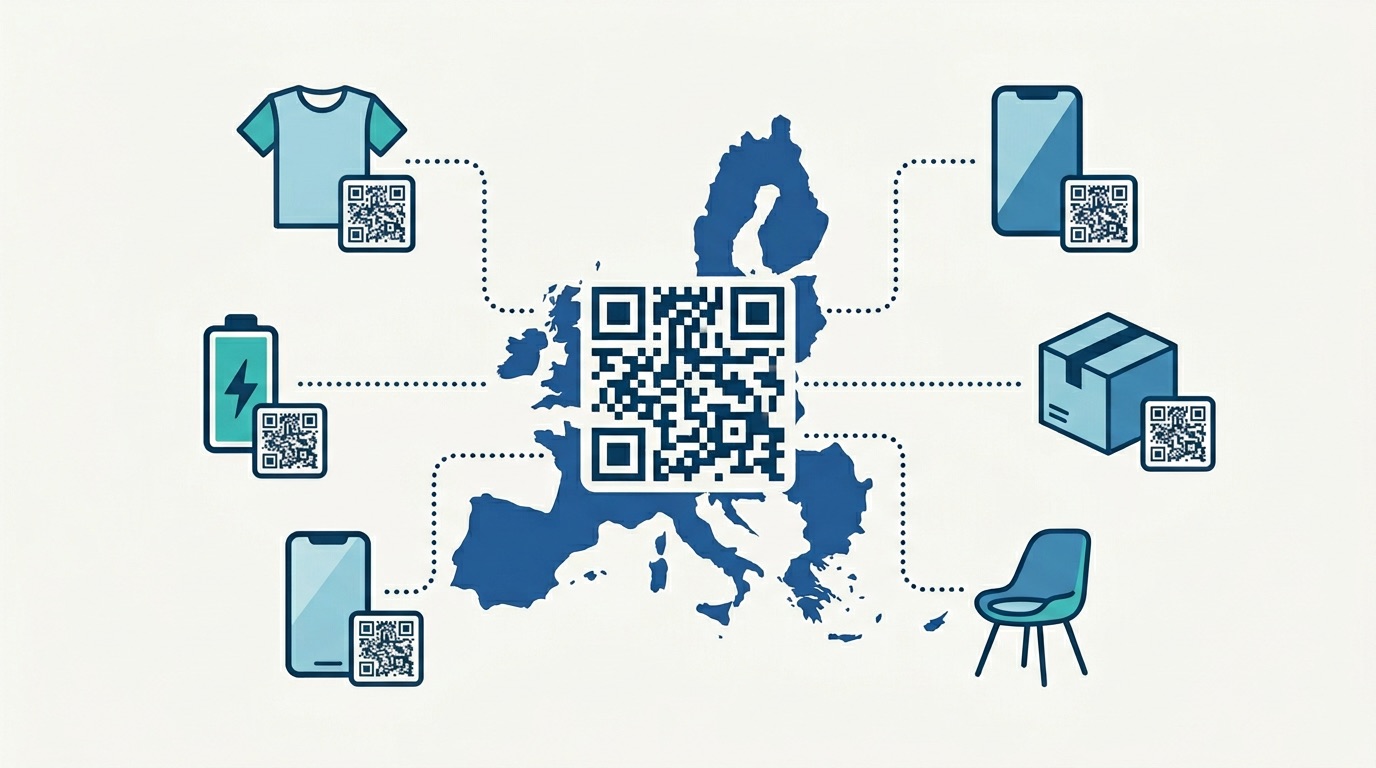
Whether you are creating a single code for a shop window or generating hundreds of codes for a bulk print campaign, the fundamentals below apply universally.
Before printing a single code, you need to understand the four technical pillars that determine whether a QR code scans reliably in print.
Dots Per Inch (DPI) determines how sharp a printed image looks at a given size. For QR codes, 300 DPI is the professional minimum — this is standard for most commercial and offset printing. For premium materials such as packaging, luxury goods, or high-end brochures, use 600 DPI to ensure every module (the individual black squares) is crisp and clean. Printing at 72 DPI — the default for web images — will produce a pixelated code that most scanning apps will struggle to read at anything beyond arm's length.
File format choice is one of the most consequential decisions in the printing workflow. The three formats you will encounter break down as follows:
When you create a QR code with Supercode, SVG export is available on all plans — always choose it for any print use case.
Digital screens render color using the RGB (Red, Green, Blue) model. Professional printers use CMYK (Cyan, Magenta, Yellow, Black). If you send an RGB file to a printer, the press software will automatically convert it — often producing color shifts that reduce the contrast between the QR code foreground and background. Always convert to CMYK before submitting files to a print supplier. This is especially critical if you are using brand colors rather than pure black on white.
QR codes contain built-in redundancy that allows them to remain scannable even if part of the code is damaged, obscured, or worn. There are four levels:
For any print campaign where the code will be physically handled, exposed to weather, or embellished with a logo, Level Q or H is the right choice. The tradeoff — a slightly denser code — is well worth the added resilience.
One of the most important decisions you make before printing is whether to use a static or dynamic QR code. The implications for a print campaign are significant.
Static QR codes embed the destination data — the URL, contact details, or text — directly into the code itself. Once printed, nothing can be changed. If the URL breaks, the promotion ends, or the campaign pivots, you must reprint every item at full cost.
Dynamic QR codes use a short redirect URL embedded in the code that points to a server-side destination you can update at any time. This means you can change the destination, update a broken link, or rotate a seasonal offer on a printed packaging run without touching the physical code. According to Rytinco's 2025 QR Code Statistics report, 79% of businesses now use dynamic QR codes, primarily because of this flexibility.
Dynamic codes also unlock campaign analytics — scan counts, locations, devices, and times — through your QR code tracking dashboard. For any marketing or business application, this data is invaluable for optimizing future campaigns.
Read the full comparison in our Dynamic vs. Static QR Codes guide or explore Supercode's dynamic QR features to see what's possible.
A well-designed QR code is scannable and brand-consistent. But design choices must be made with technical constraints in mind. The following four principles are non-negotiable for print success.
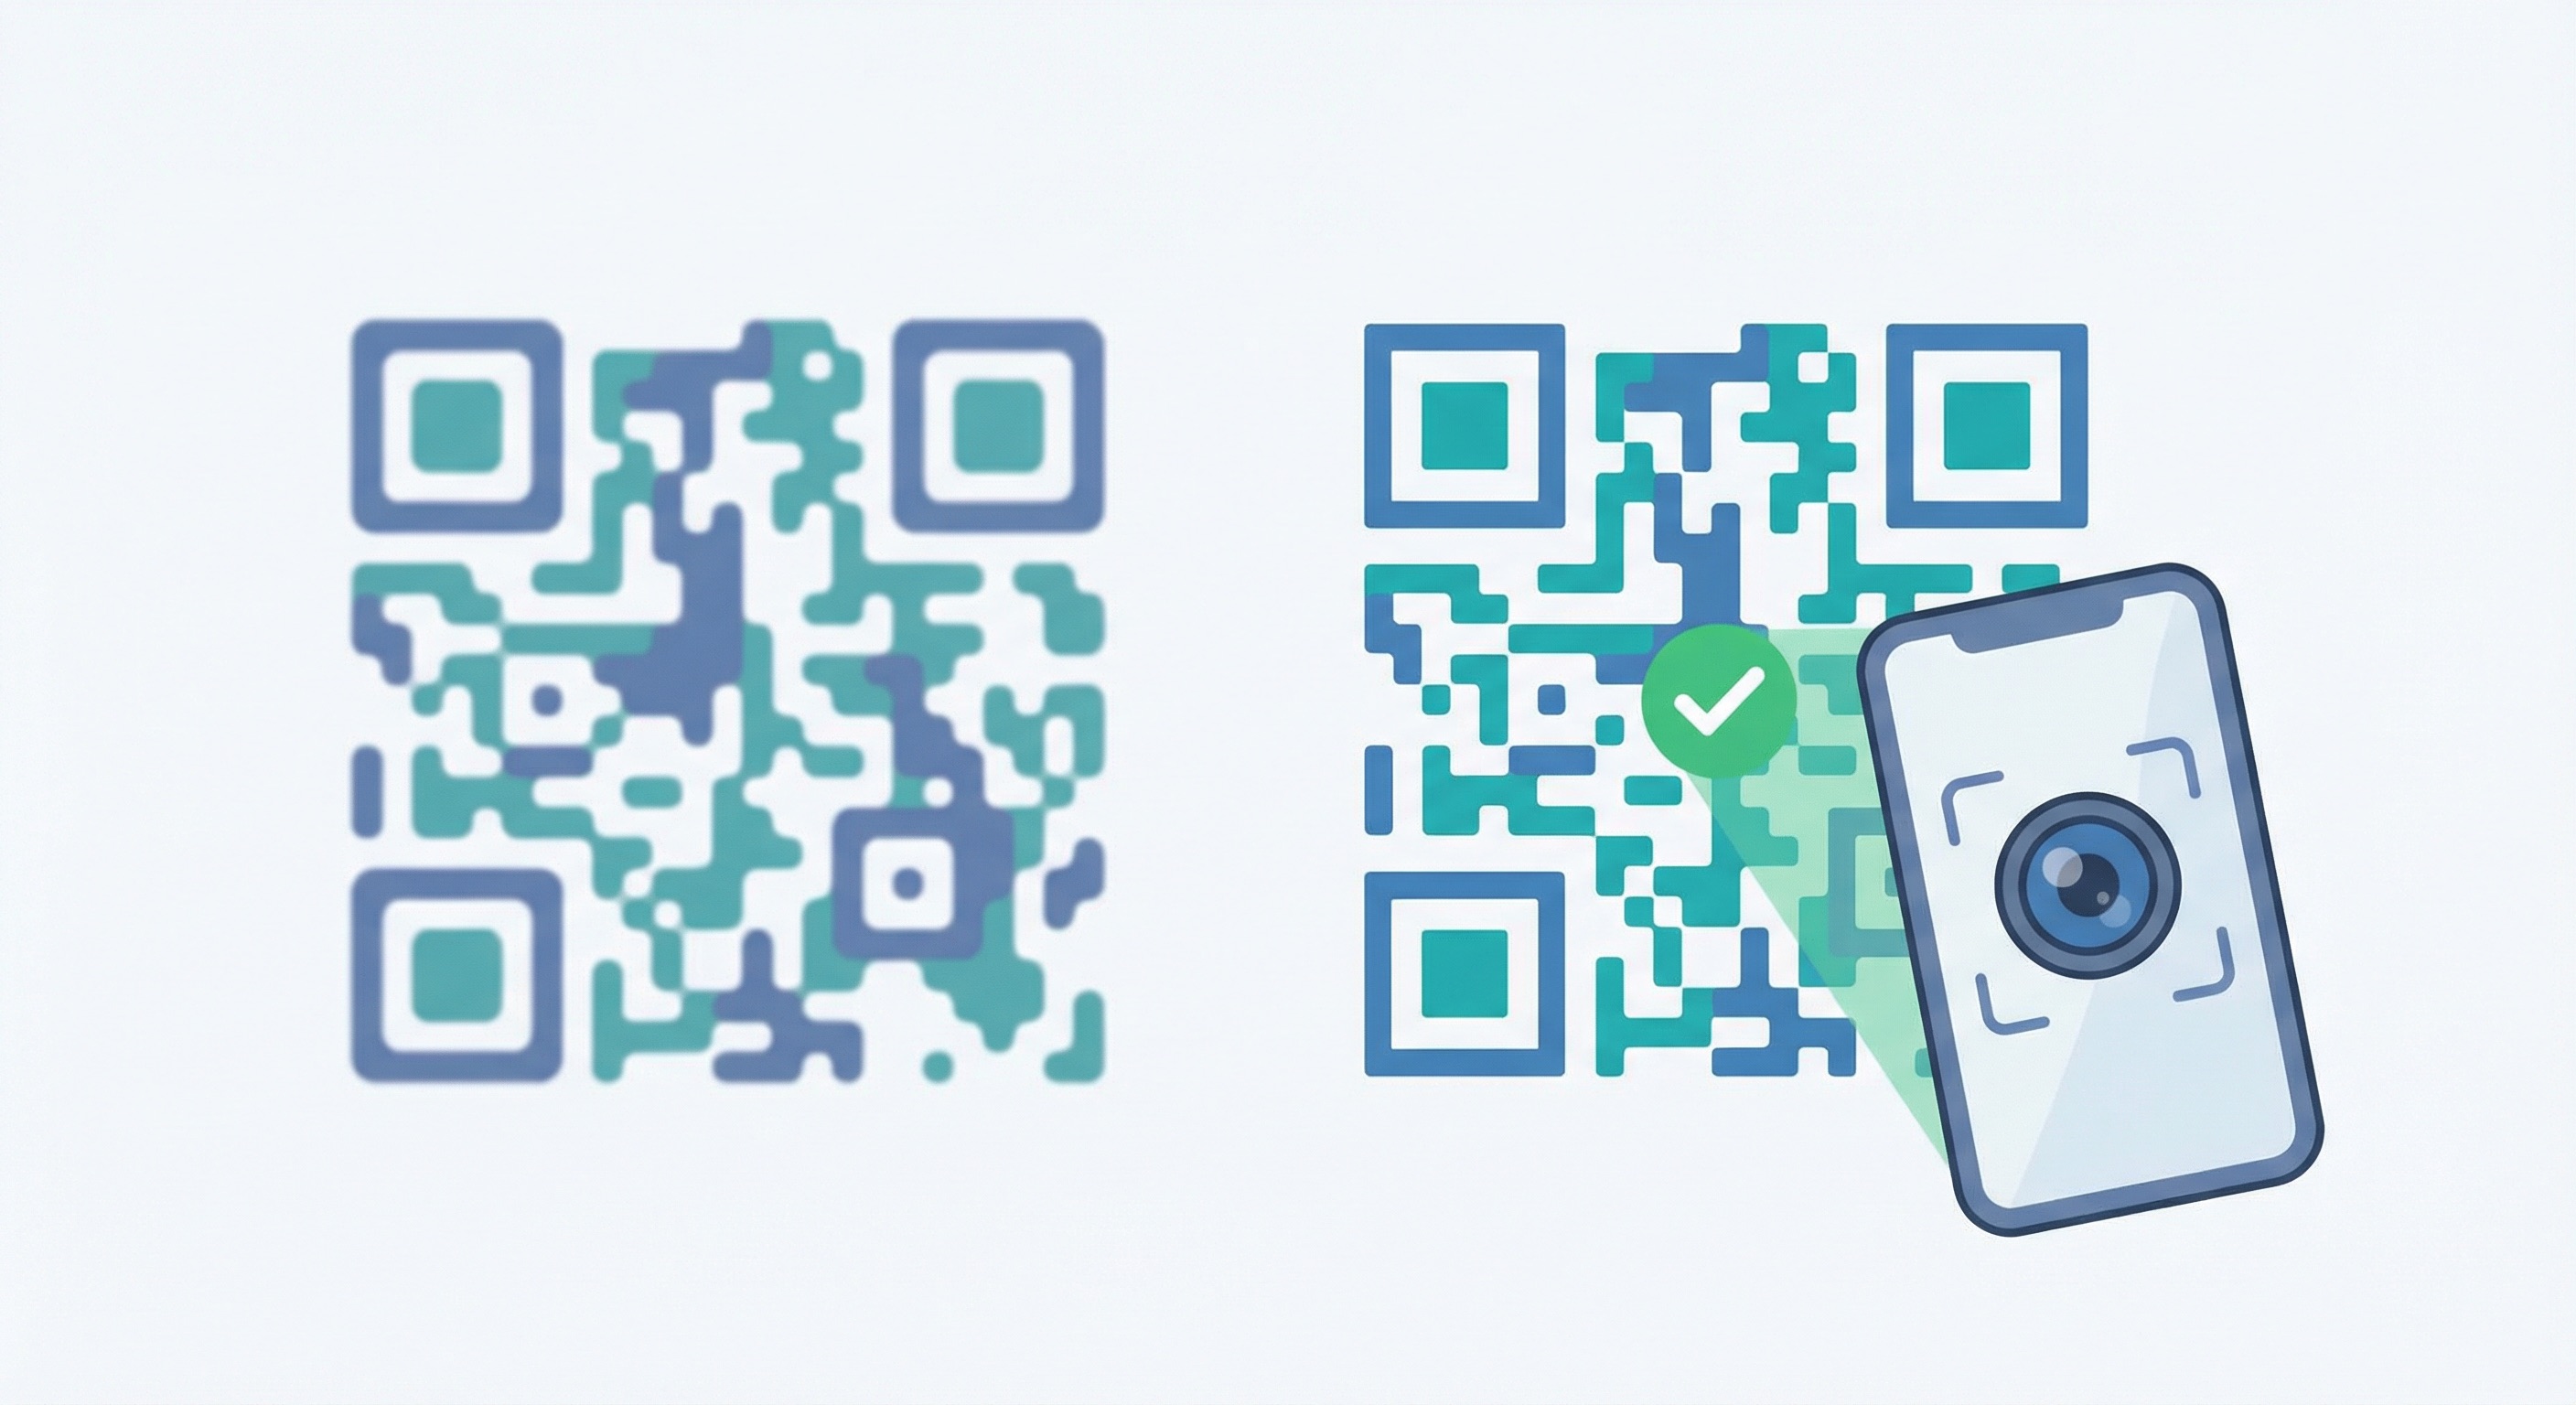
Scanning apps work by detecting the contrast difference between the dark modules and the light background. The background must be at least 40% lighter than the foreground. The classic combination — black on white — provides the maximum possible contrast and should always be your baseline. When applying brand colors, keep the foreground dark and the background light. Avoid light yellows, pastels, or any foreground color that doesn't contrast sharply with the background. A code that looks stylish but fails to scan is a liability, not an asset.
Adding your logo to the center of a QR code is an excellent brand-building technique, but it comes with a firm size limit. Your logo must not cover more than 30% of the total QR code area, and it must never obscure the three large corner squares (called "finder patterns") that allow scanning apps to orient the code. Use Error Correction Level H when embedding a logo to ensure the code retains enough redundant data to be read reliably despite the obstruction.
The "quiet zone" is the blank margin of white space that surrounds the QR code. Without it, scanning apps cannot distinguish where the code ends and the surrounding design begins. The quiet zone must be at least four module widths on all four sides. When in doubt, give it more space — this is a common source of scanning failures when QR codes are embedded in busy designs or placed flush against other graphic elements. For detailed guidance, see our QR Code Design Guide.
A frame with a short Call-to-Action (CTA) around your QR code significantly increases scan rates by removing uncertainty for the user. "Scan for Menu," "Get 20% Off," or "Download Our App" all outperform a bare code with no instruction. Avoid vague CTAs like "Scan Me" — specificity drives action. For a full breakdown of the design and campaign errors to avoid, see our guide on 10 QR Code Mistakes to Avoid.
Size is directly linked to scanning success. The universal rule is the 10:1 ratio: the maximum reliable scanning distance equals ten times the width of the QR code. A 1-inch code scans well from 10 inches away. A 2-inch code scans from 20 inches. Apply this rule to every placement decision you make.
The following table covers the most common print applications with minimum and recommended sizes:
| Application | Minimum Size | Recommended Size | Max Scan Distance |
|---|---|---|---|
| Business card | 0.8" × 0.8" | 1" × 1" | ~10 inches |
| Flyer / brochure | 1" × 1" | 1.5" × 1.5" | ~15 inches |
| Poster (A3/A2) | 1.5" × 1.5" | 2" × 2" | ~20 inches |
| Retail shelf / packaging | 1" × 1" | 1.25" × 1.25" | ~12 inches |
| Window / door sign | 2" × 2" | 3" × 3" | ~30 inches |
| Outdoor banner | 3" × 3" | 4"+ × 4"+ | ~40 inches |
| Billboard / large format | 6" × 6" | 8"+ × 8"+ | ~80 inches |
Always print a test sample and scan it from the intended viewing distance before approving a full print run. This single step prevents the majority of avoidable campaign failures. See our dedicated pages for QR codes on posters, QR codes on billboards, and QR codes on brochures and flyers for placement-specific guidance.
The right printing method depends on your volume, budget, and quality requirements. Here is a breakdown of the four primary options:
Suitable for testing and very small batches (under 50 units). Laser printers produce sharper, more consistent results than inkjet for QR codes. Output quality varies significantly between devices and is rarely suitable for professional-grade campaigns. Use this method to proof a design before sending to a commercial supplier.
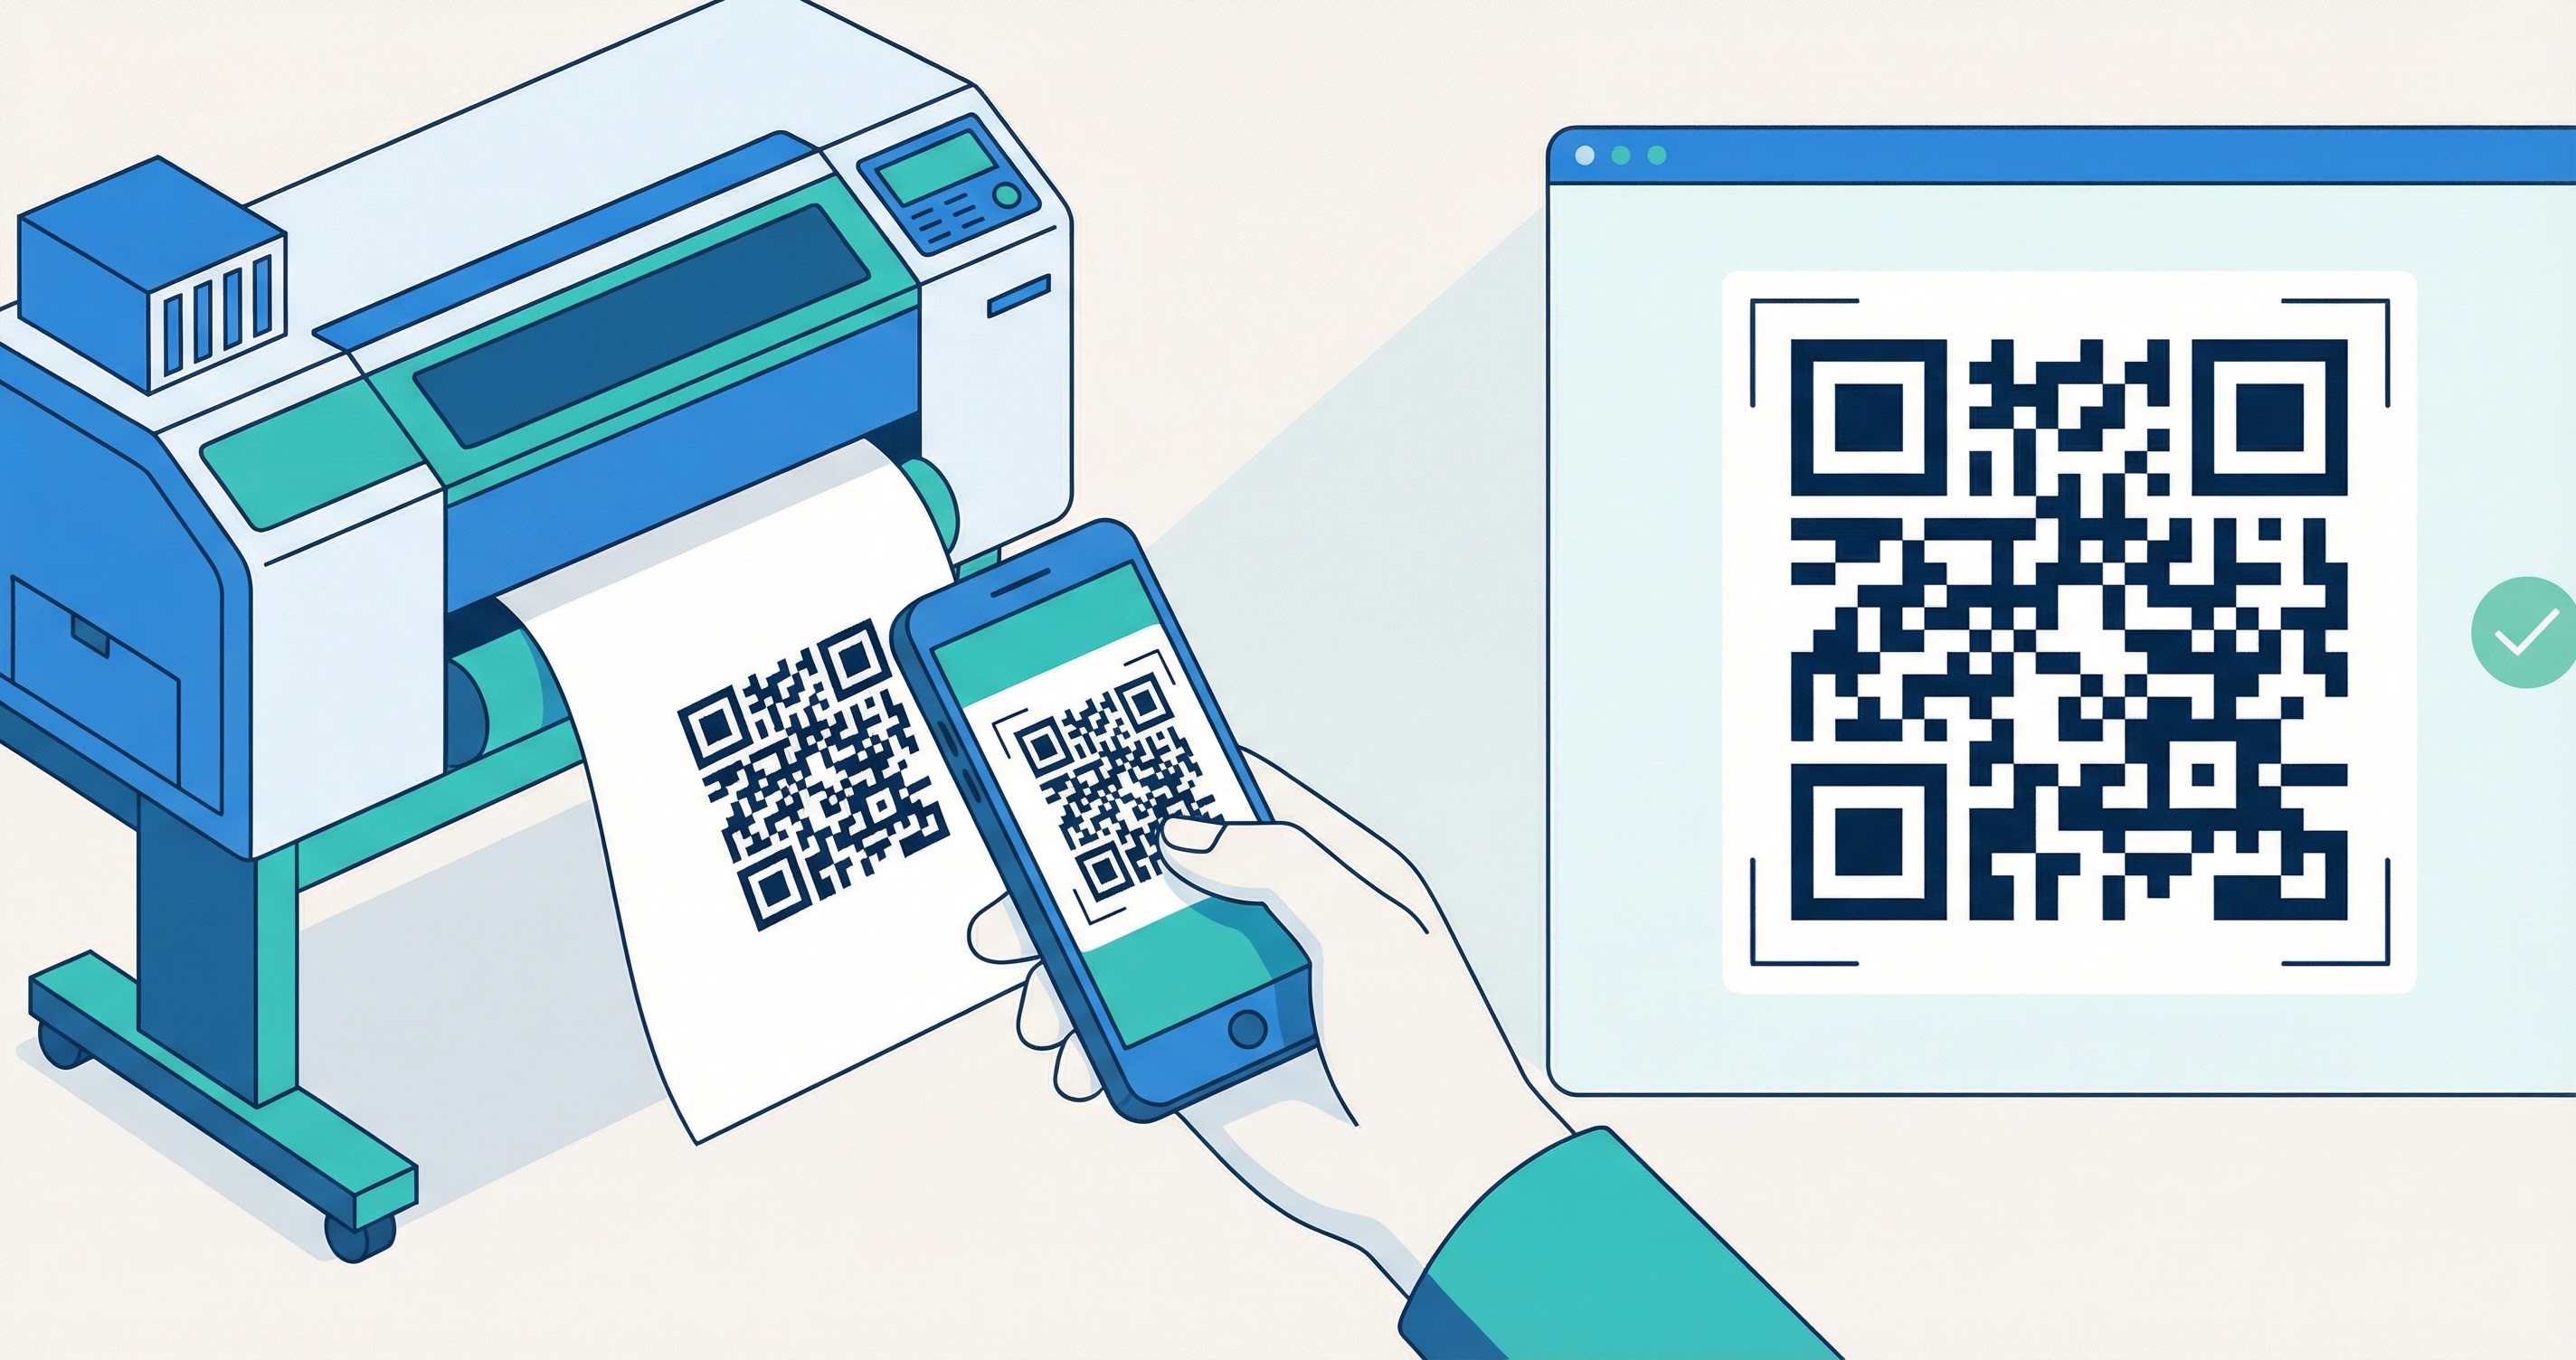
The best option for short-to-medium print runs (50–2,000 units). A reputable print shop will have calibrated equipment, professional-grade paper and material stocks, and experienced operators who can advise on file preparation. Bring your SVG or high-DPI PNG and communicate the intended use case and viewing distance.
Services such as Moo, Canva Print, and Vistaprint are cost-effective for medium-to-large volumes (1,000–10,000+ units). They support a wide range of products (business cards, posters, banners, merchandise) and typically accept PDF, SVG, or high-resolution PNG. Always order a physical proof before approving a full run.
For product packaging at scale, the most cost-effective long-term approach is to integrate the QR code directly into the packaging production workflow. This requires close collaboration with your packaging supplier and print house, but eliminates the per-unit cost of applying stickers or labels. Use Supercode's bulk QR code generation to produce unique codes for each SKU or unit in CSV format for seamless integration.
For more on managing large-scale QR code print campaigns, see our guide to bulk QR code generation.
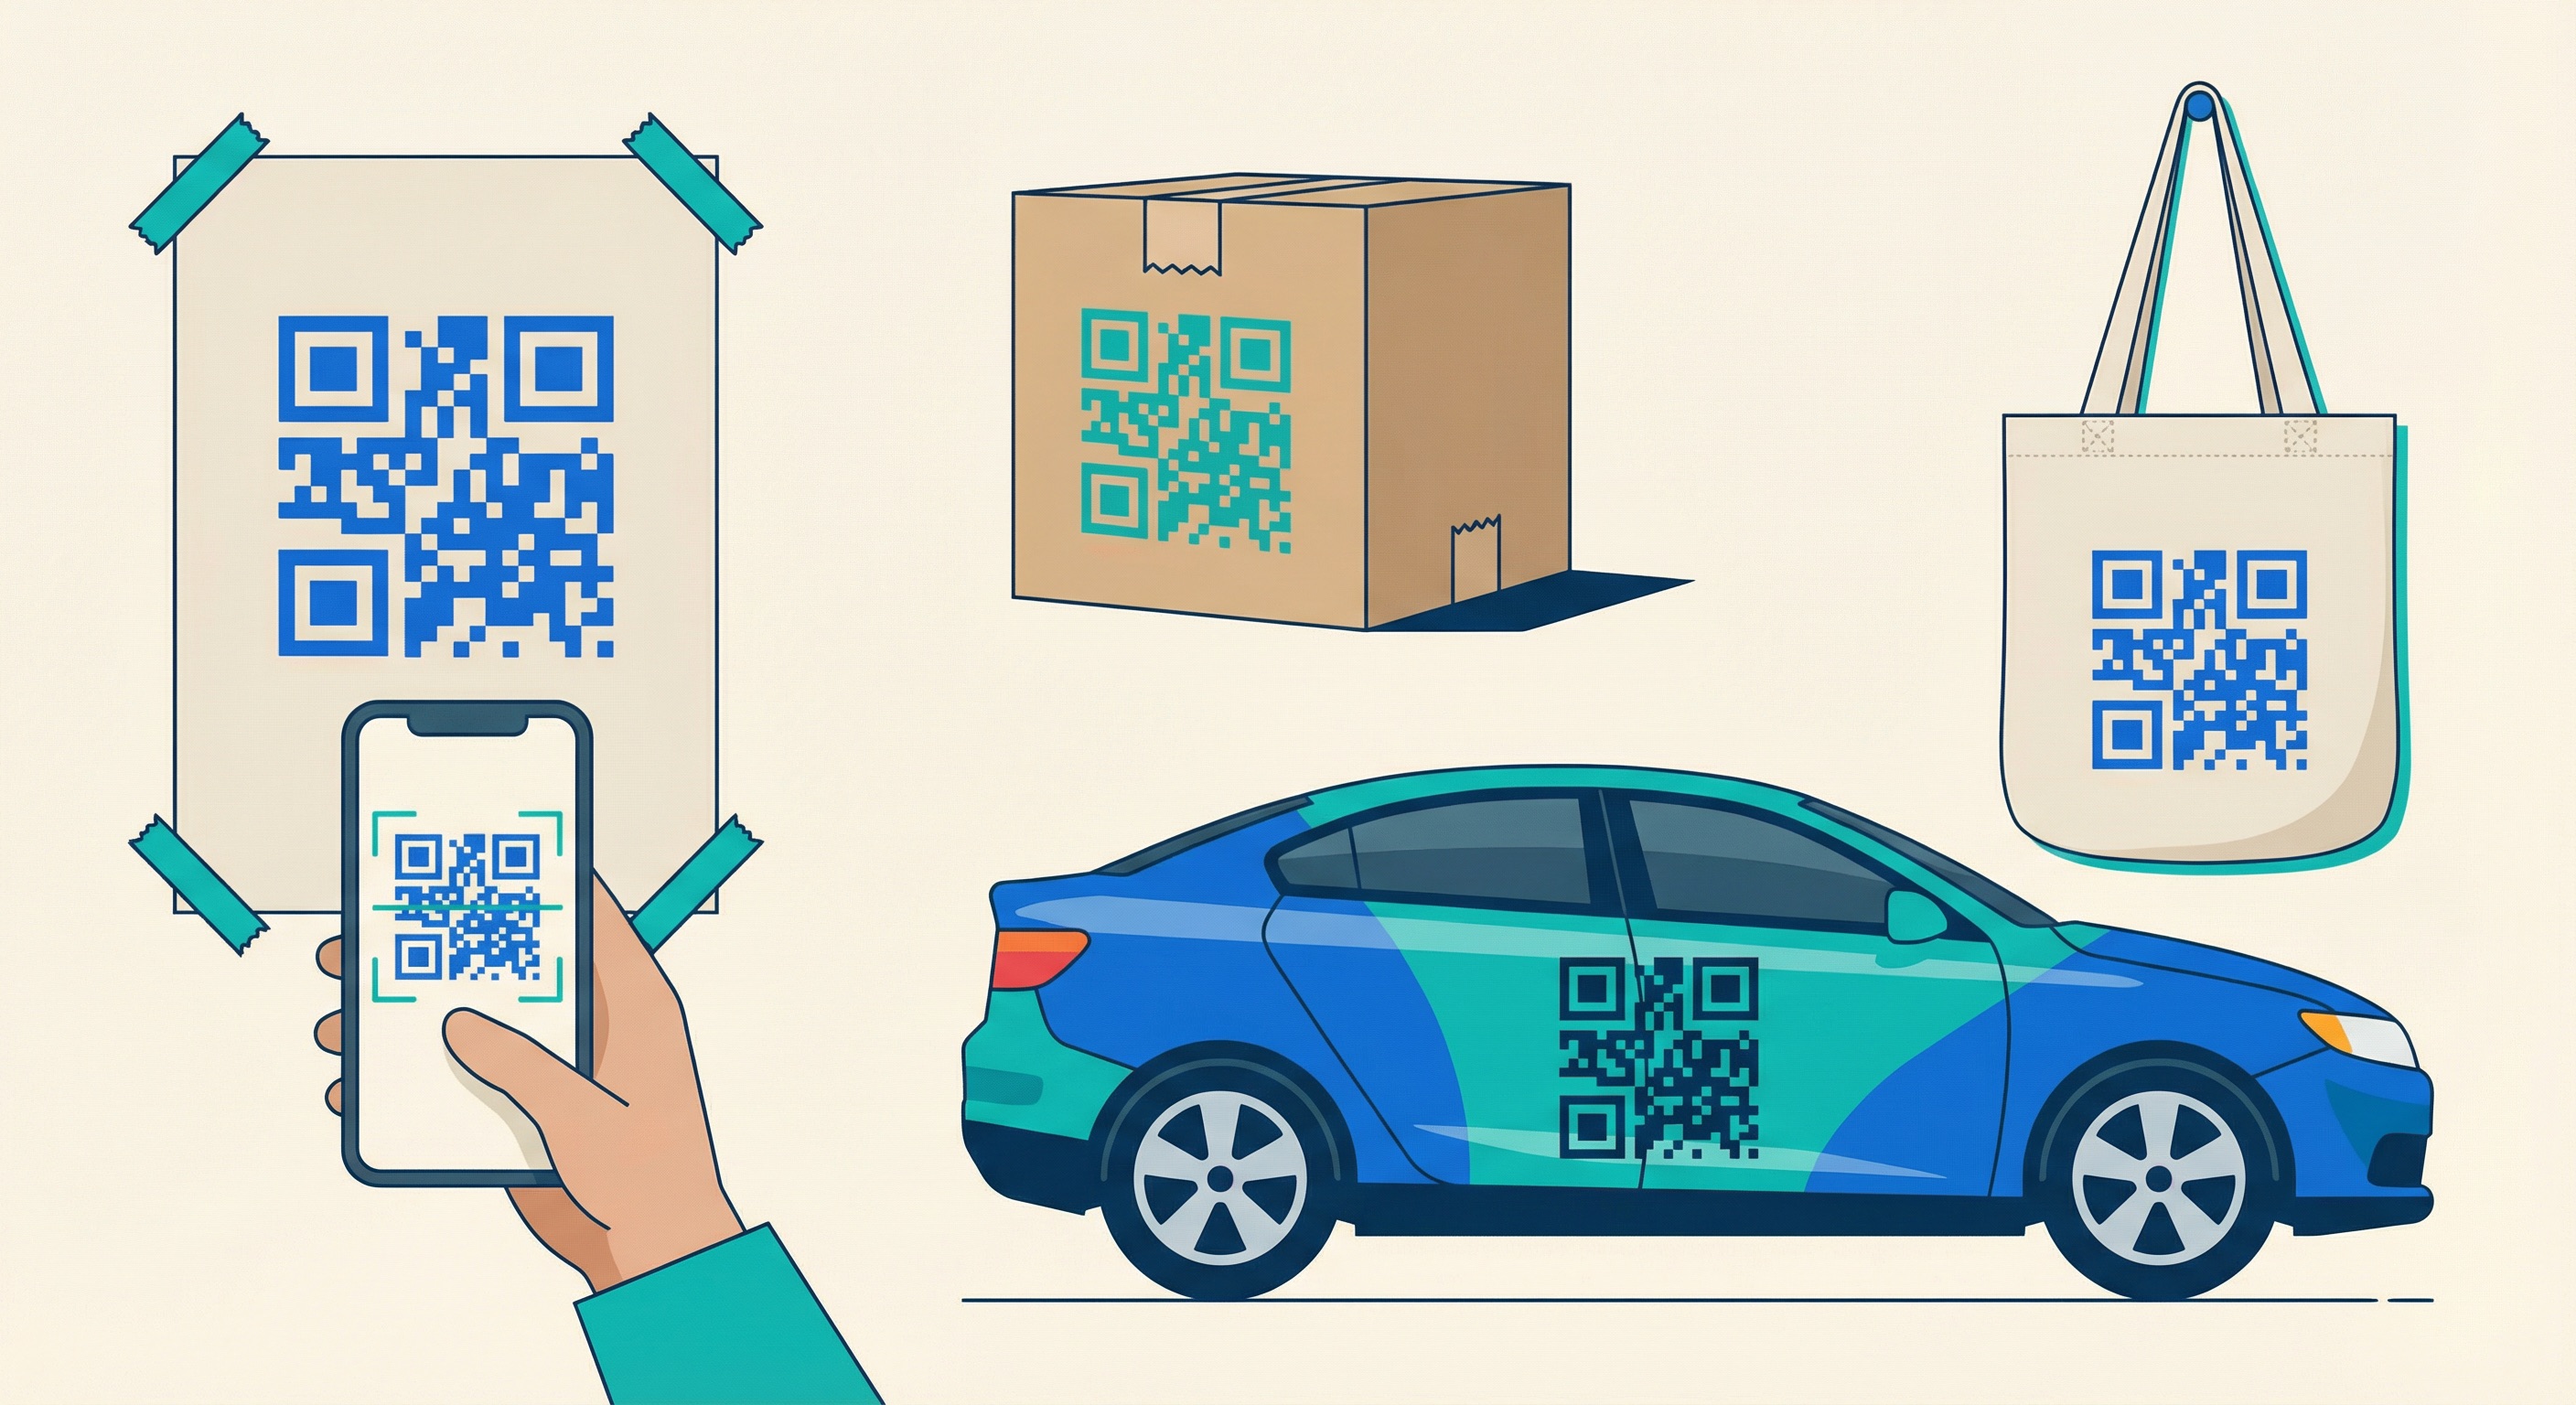
The material and surface finish you print on has a direct impact on scannability. A code that scans perfectly on matte paper may be completely unreadable on a glossy laminate. Here is a practical guide to the most common materials and how to handle them.
Matte or uncoated paper is the ideal substrate for QR codes. It absorbs ink evenly, produces consistent module edges, and creates no reflections that could confuse a camera sensor. Avoid glossy coated paper unless it is absolutely required for the design — and if so, test rigorously under multiple lighting conditions.
PVC and vinyl are excellent for outdoor and durable applications. They are weather-resistant and hold print quality well. Always specify a matte finish to prevent glare. UV-stabilised inks or UV-laminate coatings will prevent fading from sun exposure. For merchandise and vehicle wraps, vinyl with matte laminate is the professional standard.
Engraved or UV-printed QR codes on brushed aluminum or stainless steel are highly durable and create a premium impression. Avoid polished finishes — the reflection will defeat most smartphone cameras. Brushed or anodised surfaces with high-contrast engraving or printing work reliably.
Printing on fabric is technically demanding. Screen printing on a smooth, tightly woven fabric (such as cotton twill or polyester) produces acceptable results. Heat-transfer printing on tight synthetic weaves is another viable method. Avoid loose or textured fabrics where the weave structure disrupts module boundaries. For apparel and QR codes on clothing, always test at the actual garment size before production.
Glass is problematic due to transparency and reflections. If printing on glass (such as a shop window), apply the code to an opaque sticker or frosted vinyl, then affix to the glass. This gives the code a solid background and eliminates the transparency problem entirely.
Packaging QR codes must survive the full supply chain: printing, die-cutting, folding, filling, and retail handling. Use a minimum of Level Q error correction, ensure the quiet zone is not eaten by die-cut lines or fold creases, and test the code on an assembled unit (not just a flat sheet). See our dedicated guide to QR codes on product packaging for full best-practice guidance.
Different industries have different print environments, scanning distances, and audience expectations. Here is how the best-practice principles apply across key verticals.
Table tent QR codes for restaurant menus are typically scanned at a distance of 8–15 inches. A 1.5" × 1.5" code with a high-contrast design and a "Scan for Menu" CTA is the proven standard. Use matte card stock — table surfaces introduce glare, and a glossy code on a glossy table creates a near-unscannable reflection at certain angles. Dynamic URL QR codes allow you to update the menu without reprinting your table cards.
In a retail environment, QR codes appear on shelf talkers, price tickets, product labels, and secondary packaging. The scanning distance is typically 6–12 inches; a 1–1.5" code is sufficient. Use PDF QR codes to link to product spec sheets, or URL codes for product landing pages. Ensure the quiet zone is preserved when laying out product labels — a common failure point when designers shrink the code to fit a tight label.
For event management and trade show booths, QR codes appear on lanyards, signage, brochures, and branded giveaways. Lanyard badges are scanned at very close range (6–8 inches); booth signage may be scanned from 2–5 feet. Size the code accordingly. Consider using feedback QR codes at event exits to capture attendee sentiment in real time.
In print media and publishing, QR codes link readers from editorial content to digital resources. Magazine codes are typically scanned at 10–15 inches. Use a minimum of 1.25" × 1.25" and place the code with a minimum 6mm quiet zone on all sides. For books, consider a PDF QR code linking to supplementary materials, author resources, or companion websites.
Large-format outdoor print — billboards and street advertising — requires codes sized for the actual scanning distance. A pedestrian walking past street-level advertising may scan from 1–2 metres; a driver approaching a billboard may only have seconds to scan from 5–10 metres. Apply the 10:1 rule and round up significantly for safety. Use UV-resistant inks and weatherproof substrates, and always use a dynamic code so you can update the campaign without reprinting.
A methodical pre-print check prevents the majority of real-world QR code failures. Work through this checklist before approving any print run:
Even with careful preparation, issues sometimes emerge. Here is a diagnostic guide for the most common printing failures:
| Problem | Likely Cause | Fix |
|---|---|---|
| Code won't scan at all | Low DPI / blurry print, inverted colors (light on dark), no quiet zone | Re-export at 300+ DPI SVG; confirm dark foreground on light background; add quiet zone |
| Scans intermittently | Low contrast, borderline quiet zone, logo too large | Increase contrast, expand margin, reduce logo to <30% area |
| Scans but goes to wrong URL | Wrong destination set, dynamic redirect misconfigured | Check and update destination in Supercode dashboard |
| Only scans in good lighting | Glossy surface causing glare, low contrast | Switch to matte finish or matte laminate |
| Code damaged / faded outdoors | Non-UV-resistant inks, no protective coating | Reprint with UV-resistant inks; add matte laminate or clear overcoat |
| Code appears pixelated when scaled | JPG or low-DPI PNG used instead of SVG | Re-export as SVG from Supercode and scale freely |
For a comprehensive look at what goes wrong before and after printing, see our full guide: 10 Mistakes to Avoid When Creating QR Codes. For a broader understanding of QR codes compared to traditional barcodes, our QR codes vs. barcodes guide covers the technical differences in depth.
For professional printing, use a minimum of 300 DPI. For high-quality or premium-material prints — luxury packaging, premium brochures, or large-format signage — use 600 DPI. If you are using SVG format, DPI is irrelevant since vector files scale without any quality loss. For raster formats (PNG), always export at the correct DPI for your intended print size before supplying the file to a printer.
SVG is the best format because it is a vector file that scales to any size with no quality loss. If SVG is not available, export PNG at 300+ DPI. Never use JPG — its lossy compression introduces artefacts that degrade the module structure of the code and often render it unscannable after printing. Supercode supports SVG export on all plans.
The minimum viable size for a business card QR code is 0.8" × 0.8" (2 × 2 cm), but 1" × 1" (2.5 × 2.5 cm) is the safe recommendation. Apply the 10:1 rule: a 1-inch code scans reliably from up to 10 inches away, which covers most business card scanning scenarios. If your card design is constrained, prioritise the QR code size over other design elements — a code that is too small to scan defeats the entire purpose.
It is possible but not recommended as a first choice. The glare from glossy surfaces — particularly in fluorescent or directional lighting — can prevent smartphone cameras from getting a clean read. If your design requires a glossy stock, thoroughly test under the exact lighting conditions of your intended environment before approving a full run. A matte stock or matte laminate will always perform more reliably.
For any marketing or business application, always use a dynamic QR code. Dynamic codes allow you to change the destination URL at any time without reprinting, track scan data (volume, location, device, time), and A/B test different campaign destinations. Static codes are only appropriate for truly permanent information — such as a public WiFi password that will never change — where tracking is not required. Read our full dynamic vs. static QR code guide for a complete comparison.
The most common causes are: insufficient contrast between foreground and background, missing or insufficient quiet zone, using JPG format with compression artefacts, printing at too low a resolution (under 300 DPI), or printing at too small a size for the intended scanning distance. Verify each of these factors against your print file and environment. Also confirm the destination URL is live and correctly configured in your dashboard.
Add your logo using a generator that supports logo embedding with Error Correction Level H. The logo must cover no more than 30% of the total code area, and it must not touch or overlap the three corner finder patterns. Using a lower error correction level (L or M) with an embedded logo is a common cause of scanning failures. For step-by-step guidance, see our QR Code Design Guide.
Every principle in this guide is built into Supercode's QR code generator. Export in SVG at any size, choose your error correction level, embed your logo safely, switch to dynamic codes for full campaign flexibility, and track every scan from the moment your print campaign goes live. From business cards to billboards, Supercode gives you the technical controls to print with confidence.
Explore Supercode's features and pricing — every feature on every plan, or sign up free today and create your first print-ready QR code in under two minutes.